Breakout Tool
Overview
If you’ve used a few labs, no doubt you’ve noticed that it can be a pain to use the built-in console connection.
You have limited options around screen size, colouring, and having multiple consoles open at a single time.
It would be easier to connect with something like Putty right? The good news is that this is possible, and there are two ways to do it.
One option is to enable external connectivity to the lab. This is where you are bridging the lab to your physical network. This can also enable you to access internet-based services from nodes in your lab.
However, if all you’re after is external management of your nodes, there’s a simpler option called the Breakout Tool.
The breakout tool uses a small portable executable file that runs on your local machine. You configure it with the CML server’s details, so it can connect to your nodes.
It can then proxy your telnet and VNC connections to the nodes. Take note that telnet is used, not SSH.
Installing the Breakout Tool
Ok, so technically this tool is not installed. It’s a potable binary (executable) file that sits on your desktop.
However, it still needs to be run from somewhere, and to be configured, which is what we’ll do here.
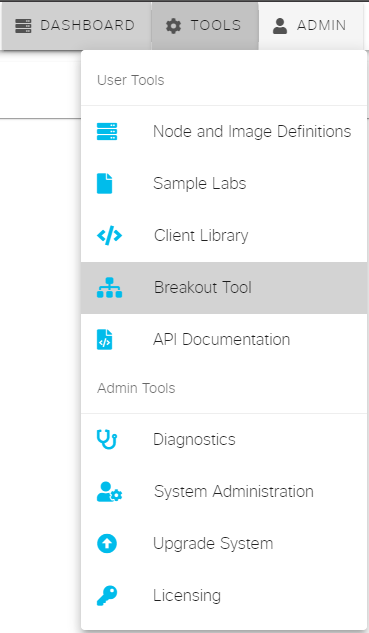
First, log into the CML UI interface. Then browse to Tools > Breakout Tool
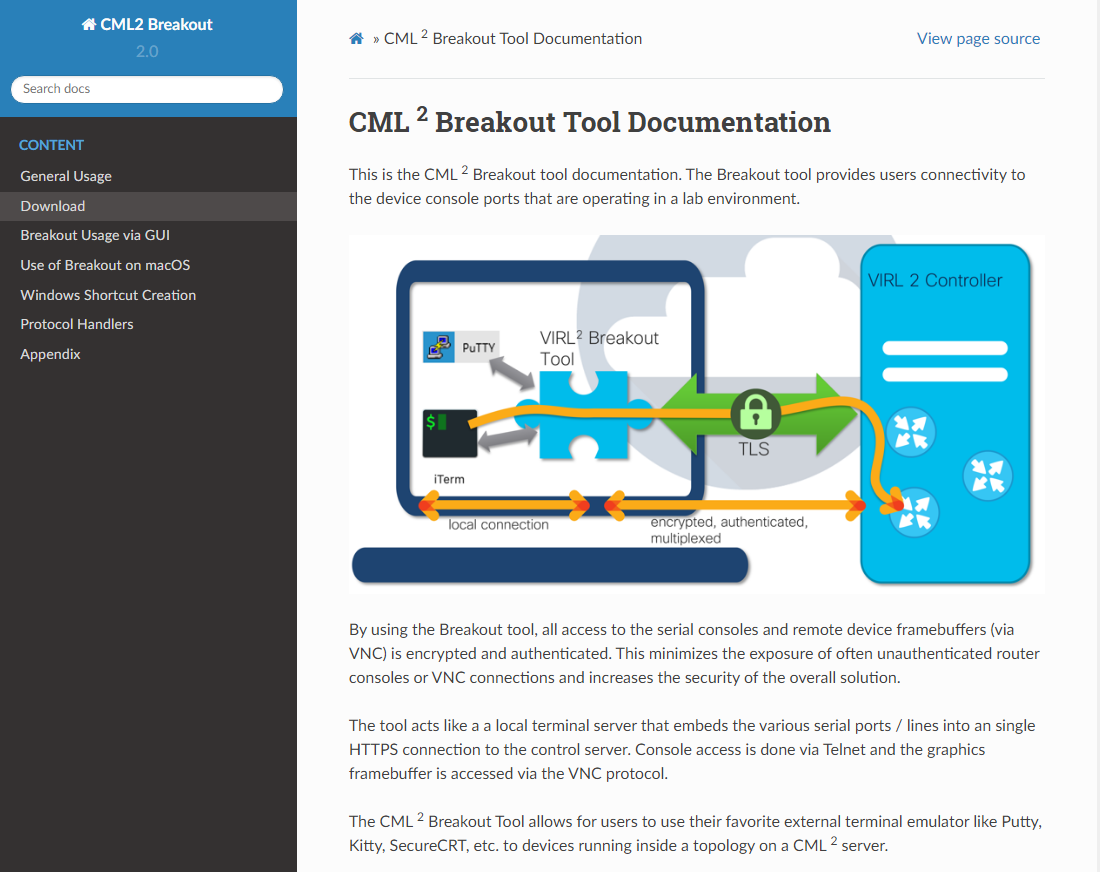
This opens the breakout tool page, which contains documentation and usage guidelines.
In the navigation bar on the left, click Download
From here, download a version that’s suitable for your system. The screenshots throughout this page use the Windows version.
Next, create a folder/directory somewhere for the executable. I recommend keeping it somewhere near the VM files. It’s also a good idea to dedicate this directory just for the breakout tool.
If you are running Linux or Mac, you need to use chmod to add executable permissions to the binary.
Configuration
So we can see how this works later, you should launch one of your labs now.
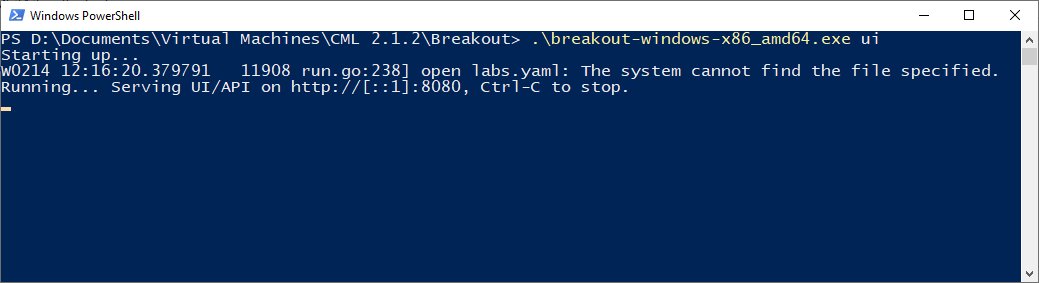
Now, open a command prompt, terminal screen, or PowerShell window in the directory where you put the breakout tool executable.
Enter the command breakout-windows-x86_amd64.exe ui (of course modify the filename to match your executable file).
This will now run in this window until we tell it to stop. It also starts a small web server on port 8080.
Using your browser, browse to http://localhost:8080
The screen you are on is where any running labs will appear. But before we can see them, we need to configure the tool to connect to the CML server. Click the Configuration tab.
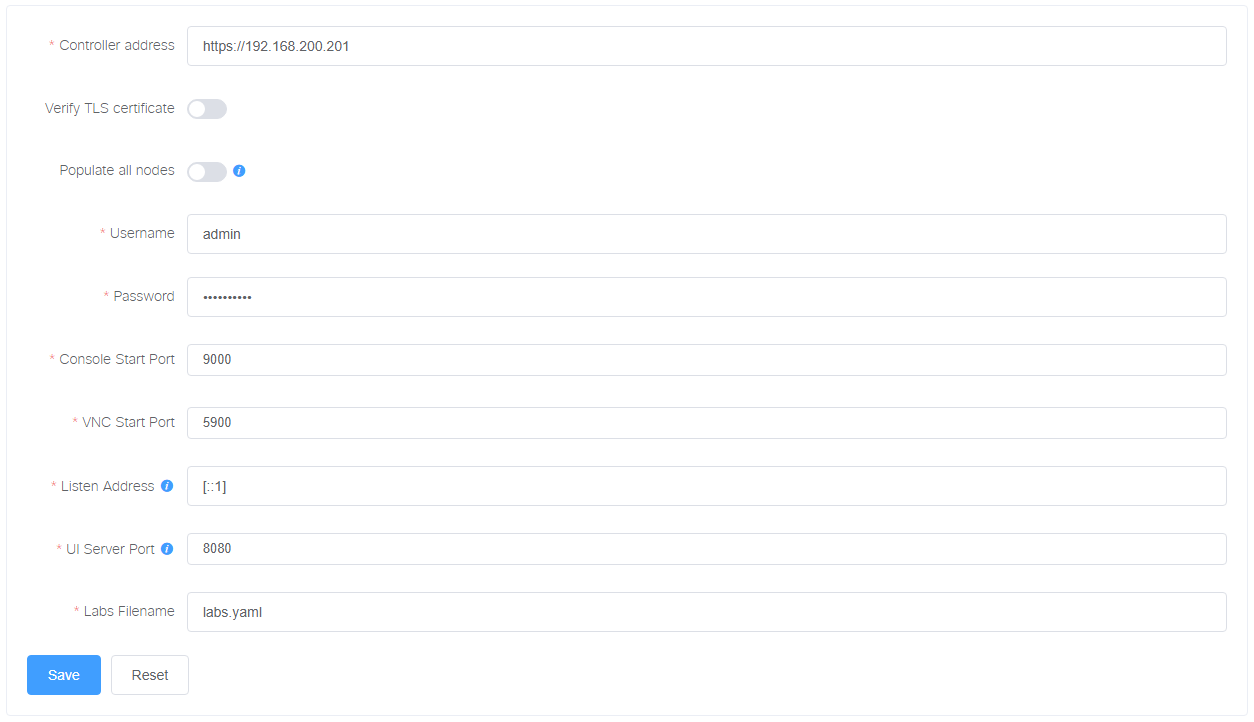
Enter the Controller address, disable Verify TLS Certificate, and put in the username and password.
When you’re done, save your changes. This will create a config.yaml file alongside the breakout tool executable. This will be read in future times when you open the tool
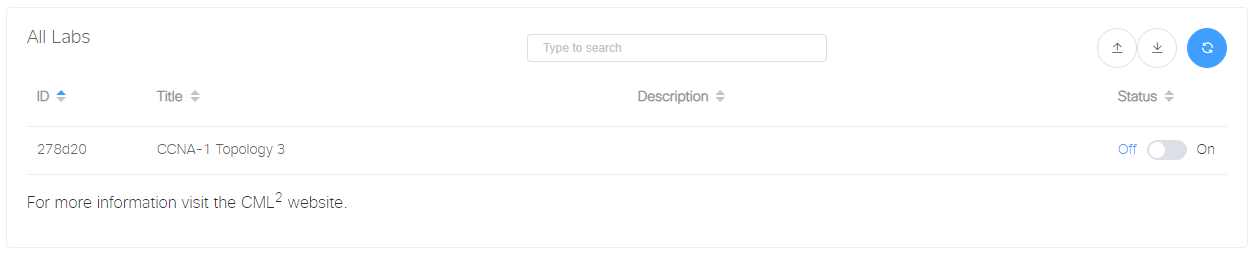
Now, go back to the Labs tab, and click the refresh button in the top right. You should see the lab that you started earlier.
Using the Breakout Tool
Next to the lab, there is a status slider. Change this to on (this enables the breakout tool on this lab).
Now, click on the lab to see the running nodes. If everything’s working, you should see two console ports per node. One of these console ports will be enabled by default.
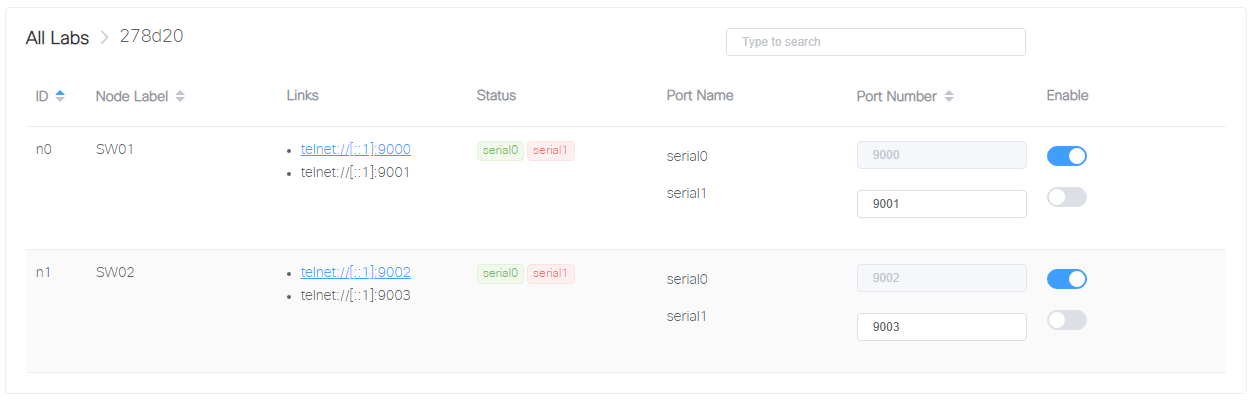
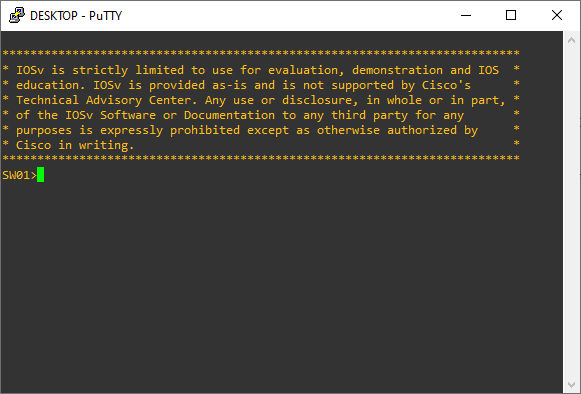
Now, open Putty or another terminal emulator. Change the protocol to telnet, enter localhost as the hostname, and change the port to match what you see in the breakout tool (ports start at 9000 by default).
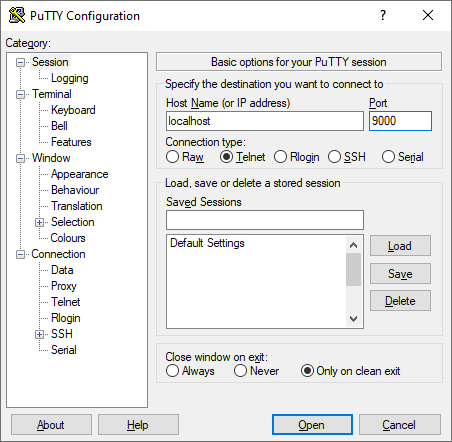
Open the connection, and you will be connected to the node.