
HTTP With Postman
Postman is a very useful application, that will soon live in your toolbox. It sends HTTP requests to a web server and returns the detailed response to you.
This is helpful if you want to see what a web server is doing, for troubleshooting reasons, or for training. It’s also ideal as a REST API testing tool.
Getting Ready
This article provides a very simple introduction to using postman. We’re going to use the free edition here, but there are paid-for options as well if that interests you.
Postman started as a Chrome App. A More recently, a native app was released. While the Chrome App version is still available, it is preferable to use the native app.
Start by downloading postman from https://www.getpostman.com/postman, and installing it. Once it’s installed, open postman and sign in with a Google account.
Using Postman
The Builder Window-Pane
There’s a fair bit going on in postman when you first open it. Today though, we’re only interested in the right-hand side of the screen, as shown below.
This is the Builder and is the main area for sending requests and receiving responses. This window pane is a bit like a browser, as several tabs can be open at once.
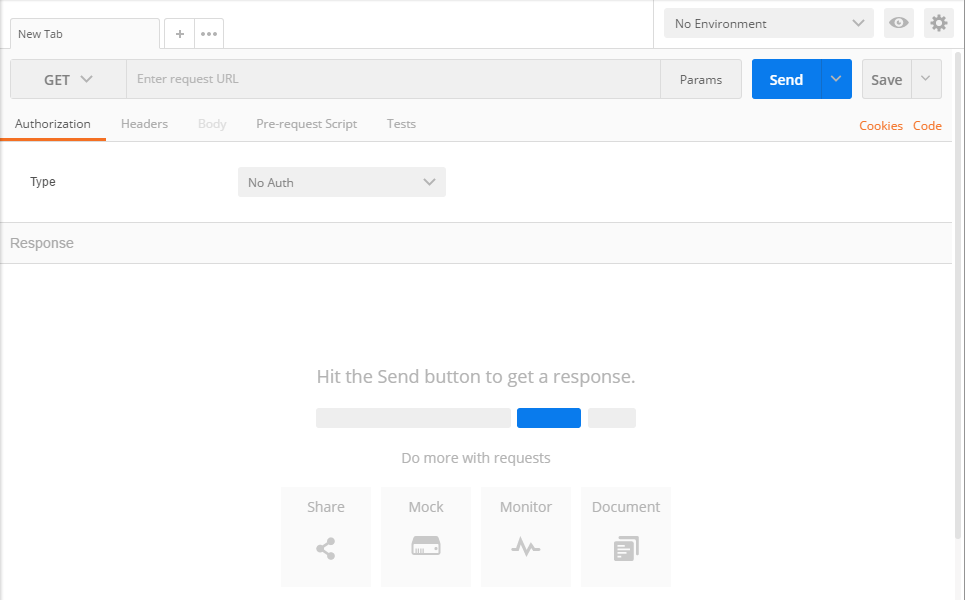
The top part of the builder is for sending HTTP requests. The bottom part is for the web server’s response. For now, we’re only interested in three parts of the request area.
Use the Method field to set the HTTP method (or command) to send in the request. By default, this is set to GET.
The URL field is where the web server’s URL goes.
The Send button sends the request to the web server.
A Simple Request
It’s time to send a simple request to web server. Follow these steps:
- Leave the method as GET
- Enter networkdirection.net into the URL field
- Click the send button
As shown below, the response area fills up with data returned from the web server.
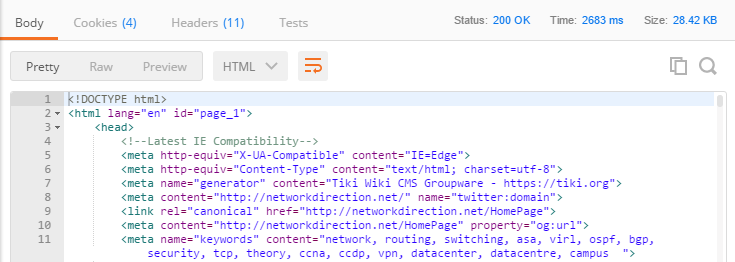
There are now a few extra tabs shown in the response area.
The default tab is for the body. This is the message body returned with HTTP. In the case shown above, it’s an HTML file.
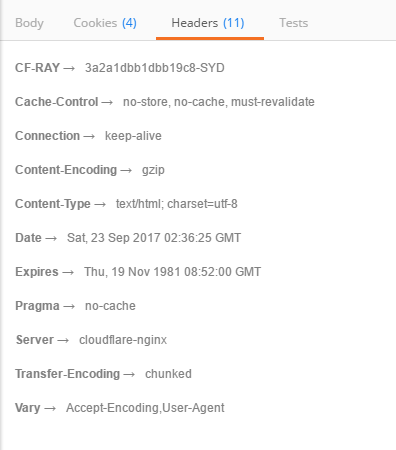
Shown below is the Headers tab. This shows the HTTP response headers.
To the right of the response tab is the status code and description. Here, the code is ‘200’ and the description is ‘OK’.
More Options
In the response, the body tab will be empty, as HEAD requests do not return a message body. The headers tab will still have all the header information.
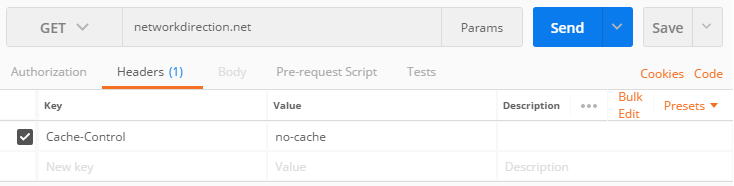
Before sending a request, you may add custom headers.
In the request area of the Builder window, go to the Headers tab. As shown below, enter a Key for the header name, and a Value.
There’s a lot more you can do with Postman. If you’re interested in going further, check out https://www.getpostman.com/docs/.